
Workforce Planning
Workforce Planning in SetGet brings together team expertise, project staffing needs, and issue management into a unified workflow. Instead of managing staffing decisions in spreadsheets or separate tools, you can define positions, assign members, track capacity, and let the system suggest the best person for each task — all within the same platform where work gets done.
The module operates at two levels:
- Workspace level — Define the expertise catalog, manage seniority levels, and view cross-project staffing dashboards.
- Project level — Create positions, assign members, track workload, and connect positions to work items.
Key capabilities
| Capability | Description |
|---|---|
| Expertise Catalog | Define hierarchical expertise categories (e.g., Frontend → React, Backend → Go) with seniority levels from Intern to Director |
| Member Expertise | Assign expertise to team members with optional admin verification |
| Project Positions | Define staffing requirements per project with head count, priority, and required expertise |
| Position Assignments | Assign members to positions with allocation percentages and date ranges |
| Capacity Planning | View member workload combining position allocation with actual issue metrics |
| Issue Integration | Link work items to positions; auto-assign when a member fills a position |
| Smart Suggestions | Get assignee recommendations based on expertise matching issue labels |
| Staffing Dashboard | Cross-project overview of staffing status, vacancies, and member allocations |
How it fits together
The Workforce Planning module connects to the rest of SetGet through several integration points:
- Expertise ↔ Labels — Issue labels are matched against expertise categories to suggest the most qualified assignee.
- Positions ↔ Work Items — Work items can be linked to a position. When a member is assigned to that position, linked work items are automatically assigned to them.
- Allocation ↔ Workload — The capacity view combines position allocation percentages with real issue data (active issues, completed issues, overdue items, time logged) for a complete picture.
- Member Dropdown — Throughout the issue management UI, member dropdowns show suggested members based on expertise and current workload.
Where to find it
| Location | What you can do |
|---|---|
| Workspace Settings → Expertise | Manage expertise categories, seniority levels, and member expertise assignments |
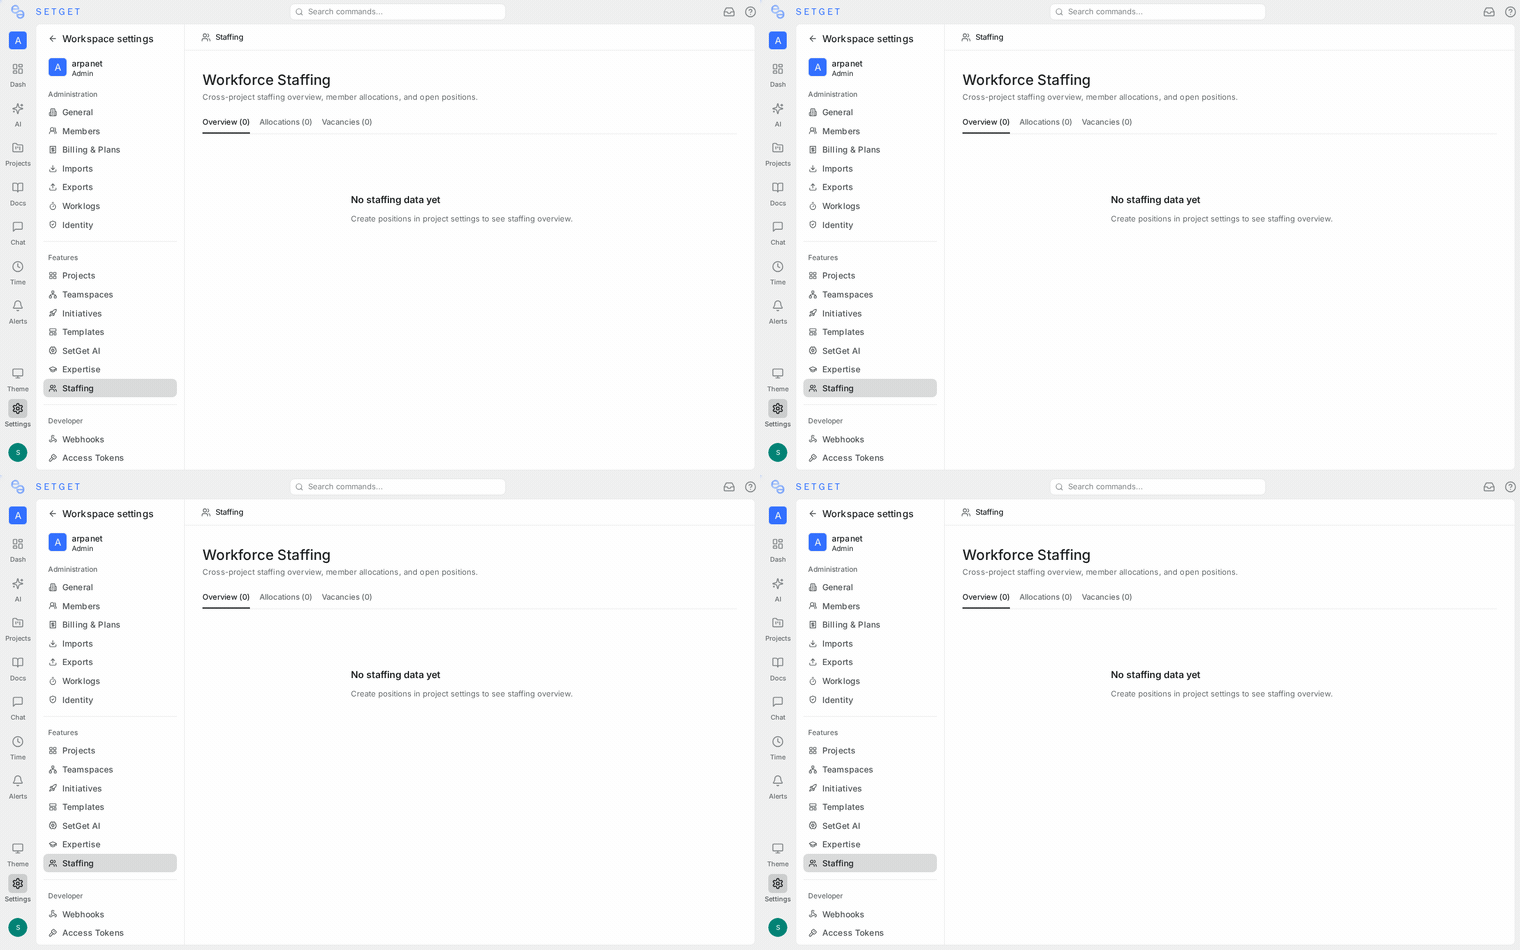
| Workspace Settings → Staffing | View cross-project staffing overview, allocations, and vacancies |
| Project Settings → Staffing | Create positions, manage assignments, view capacity for a specific project |
| Work Item Sidebar | Assign a position to any work item |
| Work Item Creation Modal | Set position when creating a new work item |
| Spreadsheet Layout | Edit position inline in the Position column |
| List / Board Layout | View position as a read-only badge on work items |
| Activity Feed | Track position changes in the work item activity timeline |
Getting started
If you are new to Workforce Planning, we recommend this order:
- Set up expertise categories and levels — Define what skills matter to your organization and what seniority levels you use.
- Assign expertise to members — Record each team member's skills and proficiency.
- Create project positions — Define staffing requirements for your projects.
- Assign members to positions — Staff your projects and set allocation percentages.
- Connect positions to work items — Link issues to positions for auto-assignment and tracking.
- Monitor capacity — Use the capacity view to balance workload across your team.
TIP
Workforce Planning works best when expertise categories align with your project labels. For example, if you have a label "Frontend" and an expertise category "Frontend", the system can automatically suggest frontend experts when assigning frontend-labeled issues.