Draft Work Items
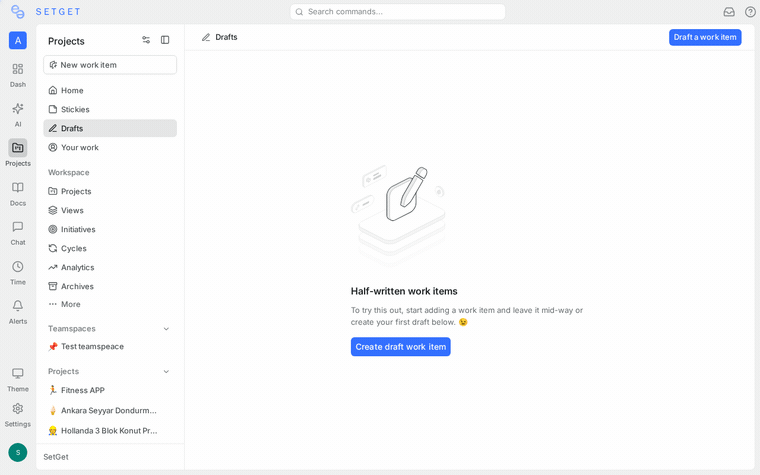
Not every work item is ready to be created in one sitting. You might start writing a title and description but need to gather more details before submitting. SetGet handles this with drafts — incomplete work items that are automatically saved so you can return to them later without losing your progress.
How drafts are created
Drafts are created automatically in two situations:
Auto-save on dismissal
When you open the work item creation form, begin entering information, and then close the form without clicking Create Work Item, SetGet saves your input as a draft. This happens when you:
- Press Esc to close the creation modal
- Click outside the modal to dismiss it
- Navigate to another page while the form is open
- Close the browser tab
As long as you have entered at least a title, the draft is preserved.
Manual save as draft
You can also explicitly save a draft:
- Open the work item creation form.
- Fill in whatever fields you have ready.
- Click the Save as Draft button (next to the Create Work Item button).
- The form closes and the draft is saved.
TIP
Use manual save when you know you are not ready to create the item but want to be certain the draft is stored. Auto-save handles accidental dismissals, but an explicit save is always reliable.
What gets saved in a draft
A draft preserves all fields that you have filled in at the time of saving:
| Field | Saved in draft |
|---|---|
| Title | Yes |
| Description | Yes (including formatting) |
| State | Yes |
| Priority | Yes |
| Assignees | Yes |
| Labels | Yes |
| Due date | Yes |
| Start date | Yes |
| Estimate | Yes |
| Parent | Yes |
| Cycle | Yes |
| Module | Yes |
| Project | Yes |
Drafts are saved locally to your account. Other workspace members cannot see your drafts.
Access drafts from the sidebar
To view your saved drafts:
- Open the project sidebar.
- Look for the Drafts section below the work items list, or click the Drafts link in the navigation.
- Your drafts are listed with their title, the project they belong to, and when they were last edited.
If you have drafts across multiple projects, they are grouped by project.
The draft count badge on the sidebar shows how many unsaved drafts you have. This helps you remember to come back and complete them.
Continue editing a draft
To pick up where you left off:
- Navigate to the Drafts section in the sidebar.
- Click on the draft you want to continue.
- The work item creation form opens with all previously saved fields restored.
- Add or modify any fields.
- Click Create Work Item to submit, or close the form to update the draft.
Every time you modify a draft and close the form, the draft is updated with the latest changes. Drafts do not have version history — only the most recent state is retained.
Convert a draft to a full work item
Converting a draft means creating the work item from it:
- Open the draft from the Drafts section.
- Review and complete all necessary fields (at minimum, the title is required).
- Click Create Work Item.
- The draft is removed from the drafts list and the work item appears in the project's active items.
Once converted, the work item behaves like any other work item — it has an identifier, appears in views and filters, can be assigned to cycles and modules, and triggers notifications for subscribers.
WARNING
Creating a work item from a draft is a one-way action. The draft is deleted upon successful creation. If you need to create similar items repeatedly, consider using Templates instead.
Delete a draft
If you no longer need a draft:
- Navigate to the Drafts section.
- Hover over the draft you want to remove.
- Click the trash icon or right-click and select Delete Draft.
- The draft is permanently removed.
Deleting a draft does not require confirmation and cannot be undone. Since drafts are not yet created work items, no activity is logged.
Delete all drafts
To clear all your drafts at once:
- Open the Drafts section.
- Click the three-dot menu at the top of the drafts list.
- Select Delete All Drafts.
- Confirm the action.
Draft vs. created work item
It is important to understand the differences between a draft and a created work item:
| Characteristic | Draft | Created work item |
|---|---|---|
| Identifier | None — drafts do not have a project ID like WEB-42 | Assigned on creation |
| Visible to team | No — only you can see your drafts | Yes — visible to all project members |
| Appears in views | No | Yes |
| Searchable | No — drafts are not included in global search | Yes |
| Activity feed | No activity is tracked | All changes are logged |
| Notifications | No notifications are sent | Subscribers are notified of changes |
| Relations | Cannot have relations | Can be linked to other work items |
| Cycles/Modules | Can be pre-assigned but not counted | Counted in progress metrics |
| Persistent | Saved to your account until converted or deleted | Permanent until archived or deleted |
Draft limits
There is no hard limit on the number of drafts you can have. However, having too many drafts often indicates that items should either be created or discarded. Review your drafts periodically and clean up items that are no longer relevant.
Best practices
- Use drafts for items that need research — Start the work item with what you know, save it as a draft, and come back after gathering requirements or reproduction steps.
- Review drafts weekly — Set a habit of reviewing your drafts during planning sessions. Convert what is ready, delete what is stale.
- Do not use drafts as a personal backlog — If an item is real work that the team should see, create it. Drafts are invisible to the rest of the team.
- Prefer templates for repeated patterns — If you find yourself creating similar drafts frequently, set up a template instead.
- Keep draft titles descriptive — Even if the draft is incomplete, a clear title helps you remember its purpose when you return to it.
Related pages
- Work Item Overview — Create, track, and manage work items
- Create via URL — Pre-fill creation forms with URL parameters
- Templates — Reusable work item templates
- Work Item Properties — Complete property reference
- Bulk Operations — Update multiple items at once